Follow us 148.4k
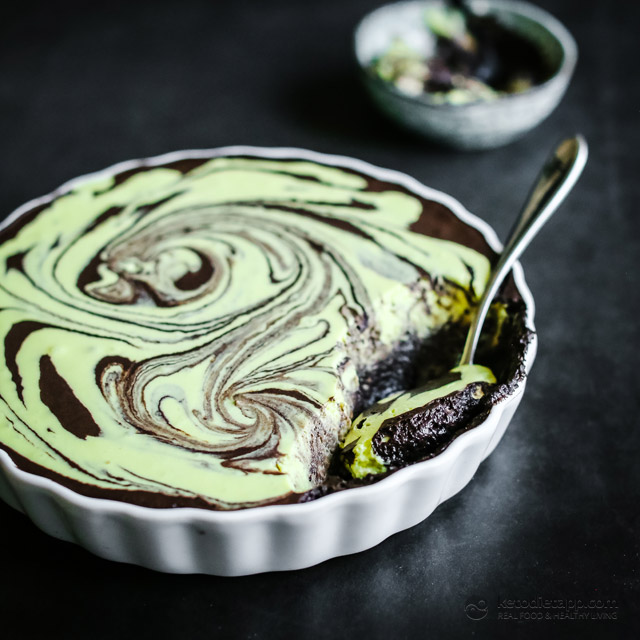
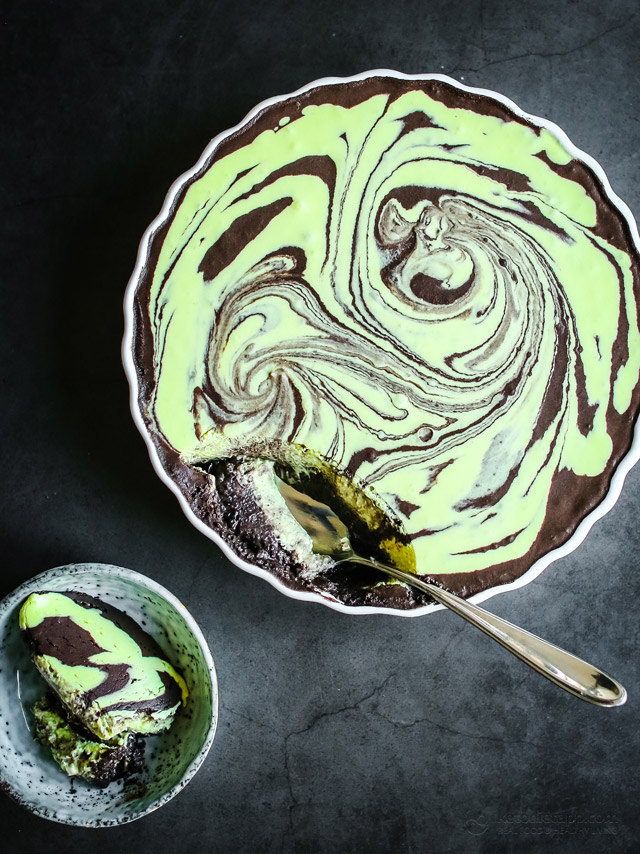
If you love chocolate and mint together, this no-bake cheesecake mousse is one to try! It's creamy, fluffy, and rich without being too heavy, with dark chocolate and peppermint swirled together. You only need about 15 minutes of hands-on prep, then the fridge does the rest.
I originally made this as a Halloween dessert, using black cocoa and green peppermint swirls for a fun, spooky look. But chocolate and mint are just as good for Christmas, and there's no reason you can't make this cheesecake fluff any time of year.
This recipe was inspired by my Fluffy Keto Strawberry Cream, which became one of my most popular desserts. Like the strawberry version, it's easy to prepare ahead of time, and you don't even need to turn on the oven!
Why You'll Love This Chocolate Mint Cheesecake Mousse
- No baking required. Just whip, mix, swirl, and refrigerate. There's no crust to prepare and no oven needed.
- Only 15 minutes of prep. Most of the time is spent waiting for the mousse to set in the fridge.
- Creamy, fluffy texture. Whipped cream and cream cheese give it a light cheesecake texture, while a little gelatin helps it hold its shape.
- Easy to make ahead. Prepare it the day before a party or family gathering and keep it chilled until serving.
- Perfect for holidays or everyday desserts. Keep the black-and-green swirls for Halloween, dress it up for Christmas, or skip the coloring for a simple chocolate mint dessert.
 Follow us 148.4k
Ingredients and Substitutions
This cheesecake mousse uses simple low-carb ingredients, with no crust and no baking. Here's what you need to know about the main ingredients and possible swaps.
- Gelatin powder: Helps the mousse set while keeping it creamy and fluffy. Use unflavored gelatin and make sure it dissolves completely before adding it to the cream mixture. Agar isn't a direct one-for-one replacement because it needs a different preparation method and produces a different texture.
- Almond milk or water: Either works for dissolving the sweetener and gelatin. Unsweetened almond milk adds a little creaminess, but water is perfectly fine.
- Low-carb sweetener: Erythritol, Swerve, and allulose all work. I prefer allulose because it dissolves well and doesn't become grainy after chilling. My favorite allulose brand is RxSugar — click here to get 20% off RxSugar.
- Heavy whipping cream: Gives the mousse its light, airy texture. Use cold cream for the best whipping results.
- Full-fat cream cheese: Adds the cheesecake flavor and makes the mousse rich and creamy. Let it soften before mixing to avoid lumps.
- Black cocoa powder: Gives the chocolate layer its deep, almost black color. Regular Dutch-process cocoa powder works too, but the chocolate layer will be brown instead.
- Peppermint extract: Gives the mousse its refreshing mint flavor. You can swap it for orange, almond, or coffee extract if you want to try a different combination.
- Green food coloring: Optional, but it makes the peppermint layer stand out. You can use natural food coloring, a little spirulina, or matcha powder, although the last two may slightly affect the flavor.
Can I Use Regular Cocoa Instead of Black Cocoa?
Absolutely! Black cocoa is what gives this dessert its dramatic dark color, but you don't need it for the recipe to work.
Dutch-process cocoa powder is the easiest substitute. You'll get a more traditional chocolate color and flavor, which works particularly well if you're making this dessert outside Halloween.
Raw cacao powder is another option, although it tends to taste slightly more bitter. You can use the same amount, or increase it slightly if you prefer a stronger chocolate flavor.
Can I Make This Cheesecake Mousse Dairy-Free?
For a dairy-free variation, you'll need to replace both the cream cheese and heavy whipping cream.
A dairy-free cream cheese alternative and a plant-based cream designed for whipping are worth trying. Coconut cream is another possibility, but regular coconut milk won't whip the same way as heavy cream.
Keep in mind that these substitutions will change the flavor and texture, and the mousse may not be quite as fluffy as the original.
How to Make Smooth, Fluffy Cheesecake Mousse
This recipe is straightforward, but there are a few things worth paying attention to.
- Make sure the gelatin dissolves completely. Any undissolved granules can leave little lumps in the finished mousse. Let the gelatin mixture cool before adding it to the cream, but don't leave it so long that it starts to set.
- Use softened cream cheese. Cold cream cheese is harder to mix smoothly and can leave small lumps in the mousse.
- Don't overwhip the cream mixture. Stop once it's smooth and fluffy. Overmixing can make the texture grainy and the mixture too stiff to swirl.
- Add the gelatin gradually. Slowly drizzle it into each mixture while beating so it incorporates evenly.
- Work quickly when making the swirls. Once you've added the gelatin, transfer the mixtures to your serving dish before they start setting. A few gentle swirls are enough — too much mixing will blend the colors together.
Make It for Halloween, Christmas, or Any Occasion
One of my favorite things about this recipe is how easily you can change the presentation without changing the ingredients.
For Halloween: Use black cocoa and green food coloring for the original spooky black-and-green swirls. It looks especially good served in a glass dish where you can see both colors.
For Christmas: Chocolate and peppermint are a classic holiday combination. You can keep the green mint layer, use regular cocoa for a softer chocolate color, and finish with some grated sugar-free dark chocolate. For individual desserts, spoon the mousse into small serving glasses.
For an everyday dessert: Skip the food coloring altogether. You'll still get the same chocolate and peppermint flavor, just with a more natural cream-colored mint layer. It's also a great way to make this recipe if you don't have any food coloring on hand.
Storage and Make-Ahead Tips
This mousse is ideal for making ahead, especially when you're preparing several dishes for a holiday meal.
Store it covered in the refrigerator for up to 5 days. I actually prefer making it the day before serving, as that gives the gelatin plenty of time to set and the flavors to come together.
For the best texture, keep it chilled until you're ready to serve. If it becomes a little too firm in the fridge, let it sit at room temperature for about 10 to 15 minutes before scooping.
I wouldn't recommend freezing this mousse. The texture can become watery or grainy once thawed, especially because it contains both gelatin and dairy.
 Follow us 148.4k
More Low-Carb Desserts to Try
If you enjoy easy, creamy desserts, you might also like my Fluffy Keto Strawberry Cream or this Mascarpone Mousse with Blackberry and Star Anise Sauce.
And if you're looking for more seasonal treats, here are a few favorites:
Hands-on Overall
Serving size about 130 g/ 4.5 oz
Nutritional values (per about 130 g/ 4.5 oz)
Net carbs3.9 grams
Protein5 grams
Fat31.4 grams
Calories311 kcal
Calories from carbs 5%, protein 6%, fat 89%
Total carbs5.3 gramsFiber1.4 gramsSugars3.2 gramsSaturated fat19.9 gramsSodium118 mg(5% RDA)Magnesium25 mg(6% RDA)Potassium153 mg(8% EMR)
Ingredients (makes 8 servings)
Instructions
- Bloom the gelatin. Sprinkle the gelatin over 1/4 cup (60 ml) of cold water and let it sit for a few minutes to soften.
- Heat the milk and sweetener. In a medium saucepan, combine the almond milk (or water) and sweetener. Warm over medium heat, stirring until the sweetener has completely dissolved. There is no need to boil the mixture.
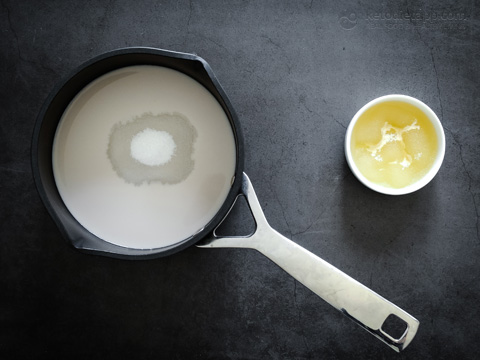
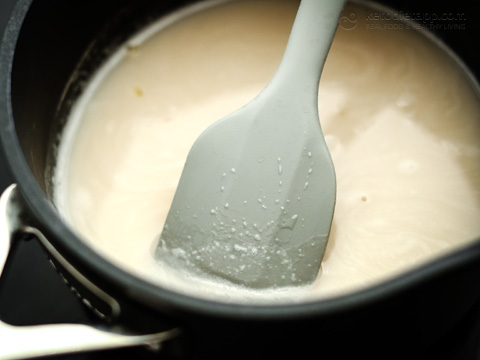
- Dissolve the gelatin. Add the softened gelatin and stir until completely dissolved. Remove from the heat and allow to cool until no longer hot but still liquid. Don't leave it too long, or it may start to set.
- Prepare the cheesecake base. Add the cold whipping cream, softened cream cheese, and vanilla extract to a large mixing bowl.
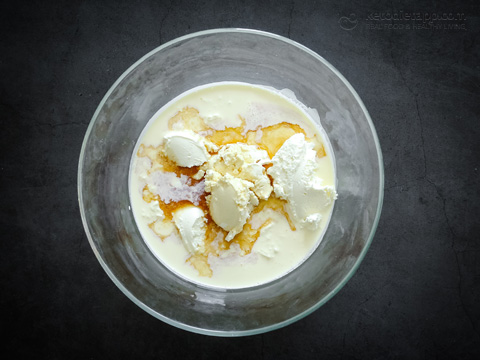
- Whip until fluffy. Using an electric hand mixer or stand mixer, beat the mixture until smooth, thick, and fluffy. Avoid overmixing.
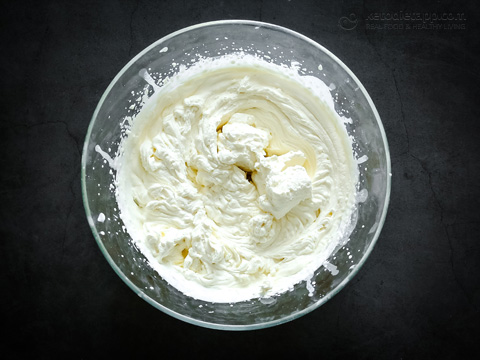
- Divide the mixture. Split the whipped cheesecake mixture evenly between two bowls.
- Add the chocolate and mint flavors. Mix the cocoa powder into one bowl. In the second bowl, add the green food coloring and peppermint extract. Start with a few drops of coloring and add more if needed.
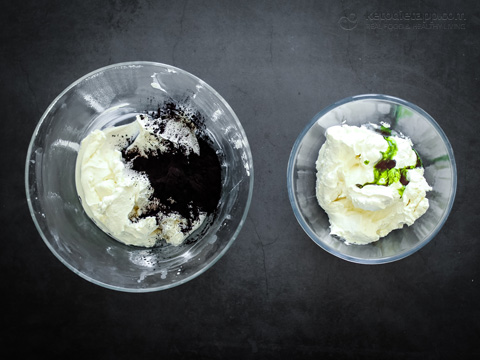
- Add the gelatin. While beating the chocolate mixture on low speed, slowly drizzle in half of the cooled gelatin liquid. Repeat with the peppermint mixture and the remaining gelatin. Both mixtures will thin slightly as the gelatin is incorporated.
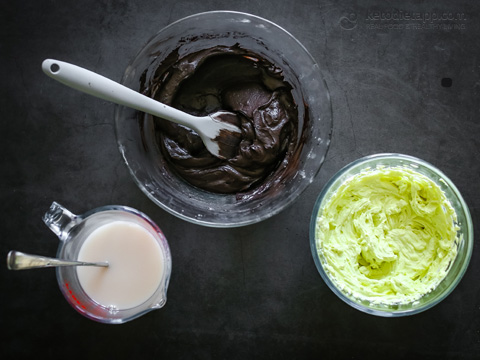
- Layer and swirl. Pour the chocolate mixture into a serving container or pie dish, then add the mint mixture on top. Use the back of a spoon or spatula to gently swirl the two mixtures together. Don't overmix, or you'll lose the distinct colors.

- Chill and serve. Refrigerate for at least 1 hour, or until set. For a firmer texture and more defined swirls, allow up to 2 hours. Scoop into individual bowls or glasses and serve chilled. Store any leftovers covered in the fridge for up to 5 days.
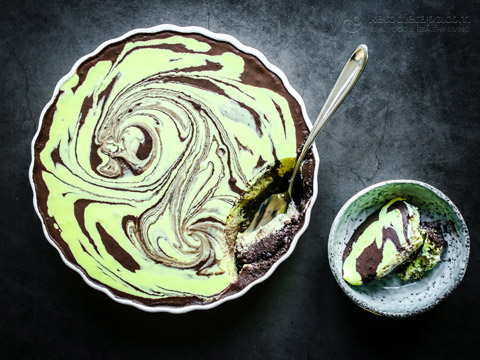
Chocolate & Mint Cheesecake Mousse
Step by Step
Ingredients
Instructions
- Bloom the gelatin. Sprinkle the gelatin over 1/4 cup (60 ml) of cold water and let it sit for a few minutes to soften.
- Heat the milk and sweetener. In a medium saucepan, combine the almond milk (or water) and sweetener. Warm over medium heat, stirring until the sweetener has completely dissolved. There is no need to boil the mixture.
- Dissolve the gelatin. Add the softened gelatin and stir until completely dissolved. Remove from the heat and allow to cool until no longer hot but still liquid. Don't leave it too long, or it may start to set.
- Prepare the cheesecake base. Add the cold whipping cream, softened cream cheese, and vanilla extract to a large mixing bowl.
- Whip until fluffy. Using an electric hand mixer or stand mixer, beat the mixture until smooth, thick, and fluffy. Avoid overmixing.
- Divide the mixture. Split the whipped cheesecake mixture evenly between two bowls.
- Add the chocolate and mint flavors. Mix the cocoa powder into one bowl. In the second bowl, add the green food coloring and peppermint extract. Start with a few drops of coloring and add more if needed.
- Add the gelatin. While beating the chocolate mixture on low speed, slowly drizzle in half of the cooled gelatin liquid. Repeat with the peppermint mixture and the remaining gelatin. Both mixtures will thin slightly as the gelatin is incorporated.
- Layer and swirl. Pour the chocolate mixture into a serving container or pie dish, then add the mint mixture on top. Use the back of a spoon or spatula to gently swirl the two mixtures together. Don't overmix, or you'll lose the distinct colors.
- Chill and serve. Refrigerate for at least 1 hour, or until set. For a firmer texture and more defined swirls, allow up to 2 hours. Scoop into individual bowls or glasses and serve chilled. Store any leftovers covered in the fridge for up to 5 days.
Nutrition (per serving, about 130 g/ 4.5 oz)
Calories311kcal
Net Carbs3.9g
Carbohydrates5.3g
Protein5g
Fat31.4g
Saturated Fat19.9g
Fiber1.4g
Sugar3.2g
Sodium118mg
Magnesium25mg
Potassium153mg
Detailed nutritional breakdown (per about 130 g/ 4.5 oz)
| Total per about 130 g/ 4.5 oz |
| 3.9 g | 5 g | 31.4 g | 311 kcal |
| Water, still |
| 0 g | 0 g | 0 g | 0 kcal |
| Gelatin powder, thickening agent, unsweetened |
| 0 g | 1.2 g | 0 g | 5 kcal |
| Almond milk natural (unsweetened) |
| 0.1 g | 0.1 g | 0.2 g | 2 kcal |
| Erythritol (natural low-carb sweetener) |
| 0.6 g | 0 g | 0 g | 3 kcal |
| Cream, heavy whipping, pouring, full-fat (30-40% fat) |
| 1.6 g | 1.1 g | 22.8 g | 220 kcal |
| Cream cheese, soft (full-fat) |
| 0.9 g | 2 g | 7.9 g | 70 kcal |
| Vanilla extract, sugar-free, alcohol-based |
| 0 g | 0 g | 0 g | 4 kcal |
| Cocoa powder, black, unsweetened |
| 0.7 g | 0.7 g | 0.5 g | 8 kcal |
| Green Food Coloring |
| 0 g | 0 g | 0 g | 0 kcal |
| Natural extract, sugar-free (maple, peppermint, almond, orange, lemon, coconut, cherry, etc.) |
| 0 g | 0 g | 0 g | 1 kcal |
Do you like this recipe? Share it with your friends!